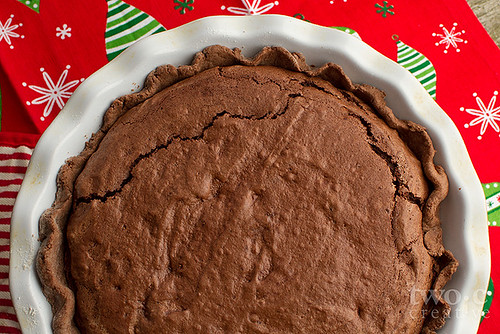
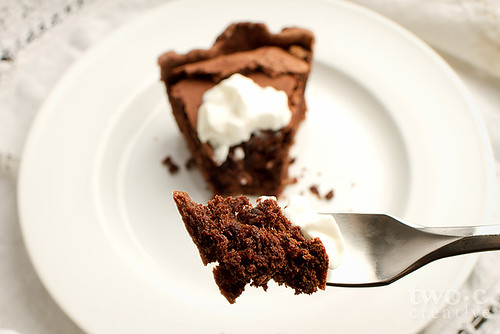
This chocolate pie recipe has been sitting in my recipe book for a couple years now, and I’ve been looking for a reason to make it. With texture that’s a cross between a chocolate-bottomed pie and a moist chocolate cake, Mississippi Mud Pie starts with a chocolate pastry dough. The filling includes whipped egg whites and chocolate that bakes to a thin crispy top layer with a moist cake-like center. It may not be the most beautiful looking pie on the planet, but it is appropriately named for its textural similarity to the rich, gooey mud found along one of America’s greatest rivers. And, it tastes way better than any mud pie I’ve ever made!

Mississippi Mud Pie
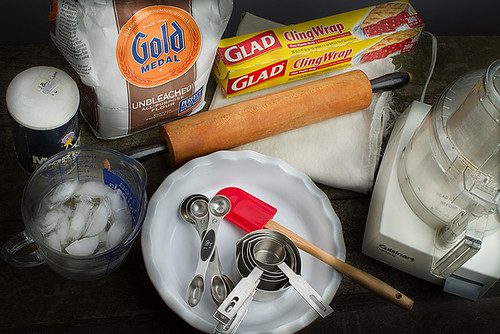
Dough
1 Cup unbleached all-purpose flour
2 Tablespoons sugar
2 Tablespoons unsweetened cocoa
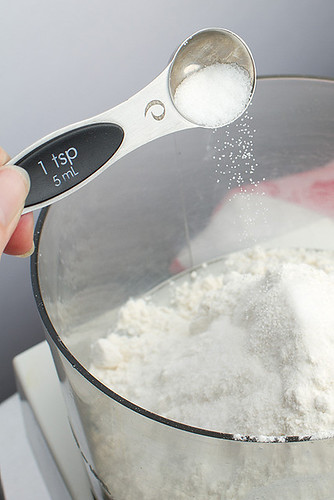
1/4 Teaspoon salt
2 1/2 Tablespoons vegetable shortening
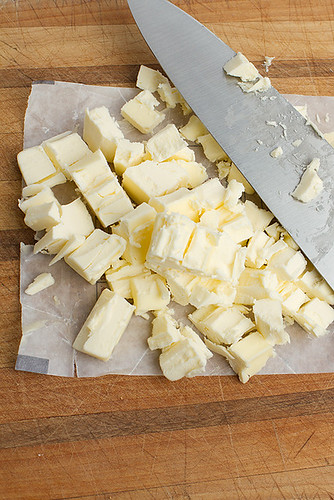
2 Tablespoons chilled unsalted butter, cut into small pieces
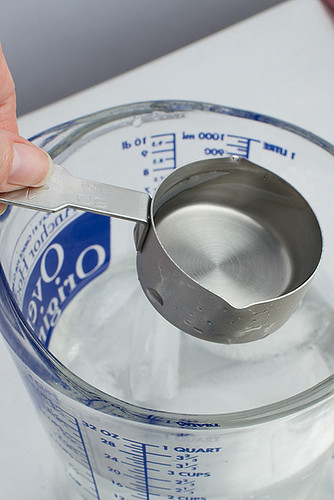
1/4 Cup ice water
Filling
3 Tablespoons butter
1/3 Cup semisweet chocolate chips
1 Teaspoon vanilla
4 large egg whites
1 Cup sugar
3/4 Cup unbleached all-purpose flour
1/3 Cup Dutch process cocoa
1/2 Teaspoon baking powder
Dash of salt
Directions
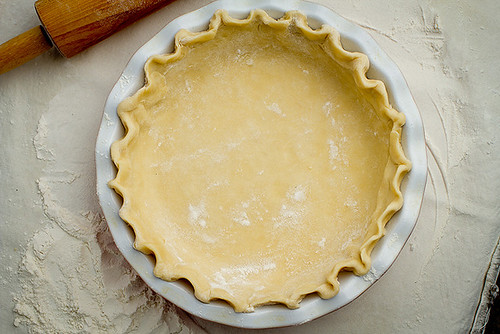
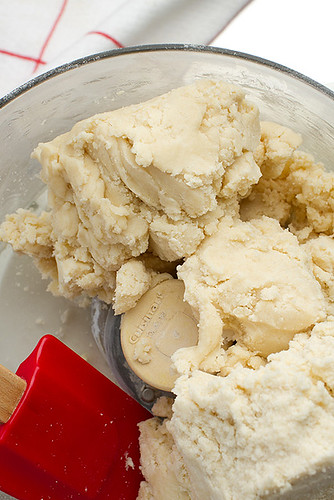
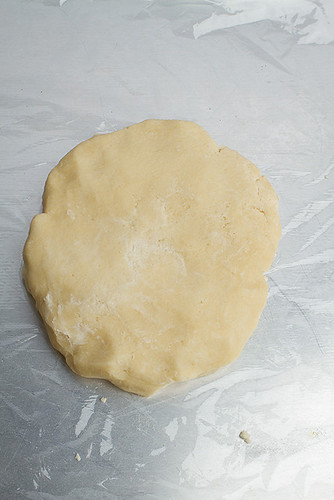
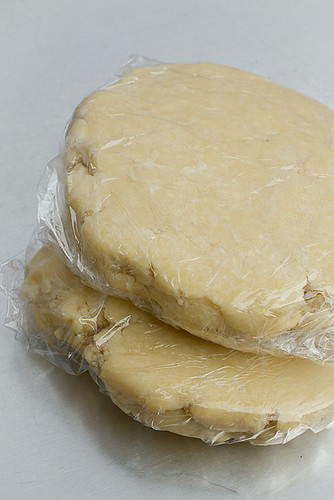
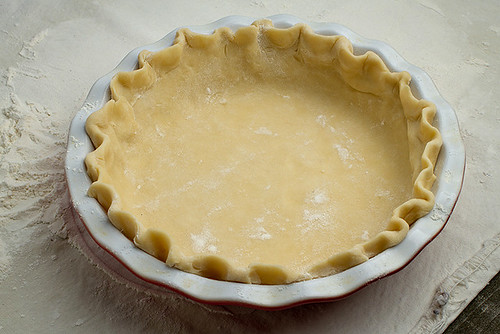
To prepare the crust, combine 1 cup flour, 2 tablespoons sugar, 2 tablespoons unsweetened cocoa, and 1/4 teaspoon salt in a food processor; pulse 2 times or until blended. Add shortening and chilled butter; pulse 6 more time or until mixture resembles coarse meal. With the processor on, slowly pour ice water through the food chute, processing just until blended (don’t allow the dough to form a ball); remove from bowl. Gently press mixture into a 4-inch circle; warp in plastic wrap and chill for about 30 minutes.
Preheat oven to 350°F.
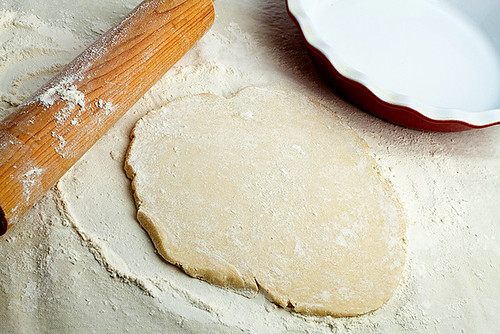
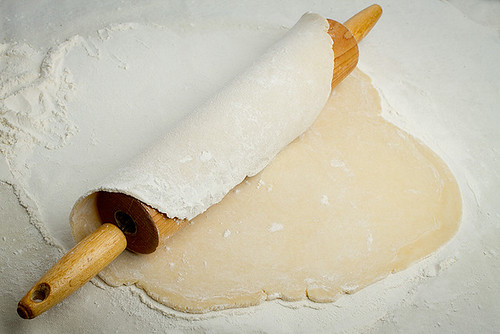
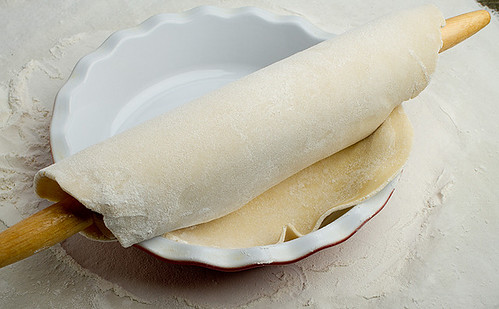
Unwrap and place chilled dough on a floured surface. Roll into a 10-inch circle and press into a 9-inch pie plate. Fold edges over and flute.
To prepare the filling, place 3 tablespoons butter and chocolate in a microwave safe bowl. Microwave on high for 30 seconds or until butter and chocolate melt. Stir to combine. Place vanilla and egg whites in the bowl of a mixer and beat at medium speed until foamy. Gradually add 1 cup sugar; beat until soft peaks form, about 2 minutes. Gently fold in melted chocolate and butter mixture.
Combine 3/4 cup flour, 1/3 cup Dutch process cocoa, 1/2 teaspoon baking powder, and a dash of salt in a small bowl. Fold flour mixture into egg white mixture. Pour filling into the prepared crust. Bake at 350°F. for 40 minutes. Cool on a wire rack.