Saturday, October 29, 2011

procrastinating...

_MG_7556

_MG_8063

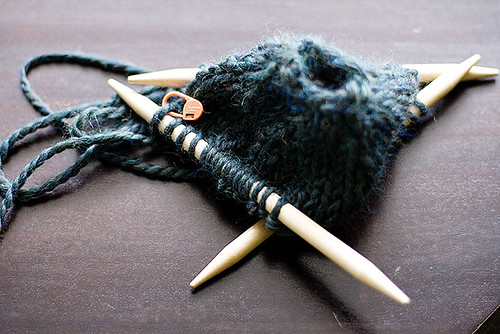
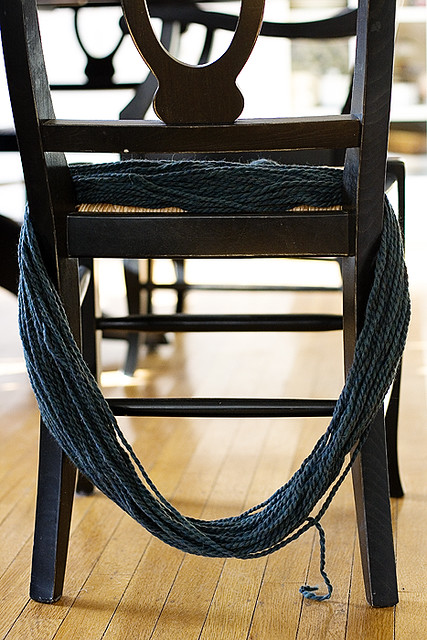
Remember my knitting frenzy a few years ago? If not, you can read about it here. And here. Hats, specifically, were planted on the heads of friends and family members, whether they wanted them there or not. My mother-in-law requested a hat. Great! I'd love to knit one for you! I chose this beautiful green wool yarn. She chose the style. Knit. Knit. Knit. Stop. An entire year passes. Knit. Knit. Stop. Another entire year passes. The unfinished hat is still on circular needles.

Today I finally took it off the needles to check for size. It looks a bit large, but we’ll see...

Do you have any projects that you’ve been putting off? Why are you procrastinating?

Thursday, October 20, 2011

Portland composts! and fruit flies!!

If you live in the city of Portland, you are well aware of the new “curbside-composting pilot program,” which will soon expand to all single-family homes. If you don’t live in the beautiful city of roses, stick with me anyway, this composting is just a segue into the meat of this post. 


Beginning October 31, we will toss all unwanted foods, i.e. coffee grounds, bones, rotten veggies, meat, and even old pizza boxes, into the green carts we now use for yard waste. The city is providing us with these little kitchen pails to collect scraps in the kitchen that then will be emptied into the yard debris cart.


I picked up this compost pail that is aesthetically more appealing. It can be found at Williams-Sonoma for $29.95. For something I have to look at every day sitting on the kitchen counter, I find it much more pleasing, but that’s just how I roll.


In preparation for this new program, here at chez Portland Peeps we started a little early. We were already pretty good at doing our own composting by giving any leftover veggies to our chickens, so this really isn’t that much of a stretch. I’m all for composting and think everyone should do it anyway. I know the city is trying to cut costs, so I wish them luck with that.


Now we have these...


Spotted wing fruit fly (Drosophila suzukii)


Spotted wing fruit fly (Drosophila suzukii)


In case you don’t recognize them, these are fruit flies. Drosophila suzukii. My talented husband photographed them. It’s hard to believe they have all this going on, when in reality they’re the tiniest things with wings ever. He makes them look like something from Empire of the Ants. Huge creatures I would never be able to smack between my hands to kill. 


So does anyone know how in the world to get rid of these little pests? 


Here’s what I’ve tried so far:


Bleach - poured 1/4 cup down the drains for several days in a row. I heard they breed in there.


Fruit - put all fruit into the refrigerator and closed the door tight. They breed in there too. Duh! Why else would they be called fruit flies?


Cleaned - washed all counter surfaces with a mixture of bleach and water.


Still the buggers are flying around my kitchen! Excuse the pun, but they are really bugging me!


Any and all ideas for eliminating them will be greatly appreciated.


Thank you!


Monday, October 17, 2011

dark chocolate almond butter

101511AB-199


“Robin eats chocolate sandwiches,” my daughter announced after a day in 3rd grade.

“That poor girl!” I thought. Most likely she’s left to make her own lunches and this is what she chooses? A chocolate sandwich? Can you imagine? Is it on white bread?

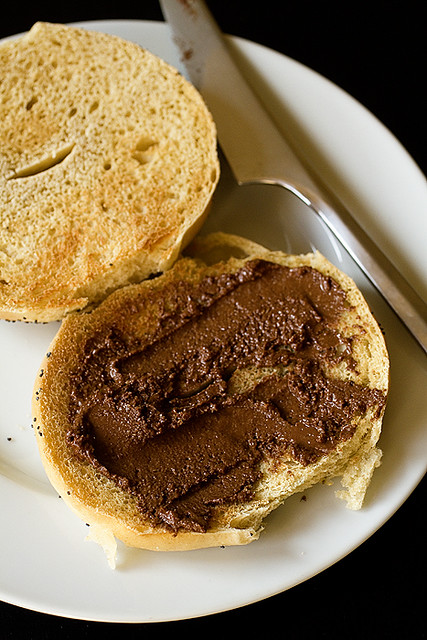
Fast forward to a recent shopping trip. My daughter spotted the chocolate in a jar, or Nutella. It occurred to me that this was most likely what had been slathered on Robin’s sandwiches. Somehow a jar made its way into my basket. I caved. Isabel is hooked. Her breakfast of choice is now a bagel topped with Nutella.

After reading the list of ingredients, I channeled Jamie Oliver, and thought, “I can make this healthier.”

Nutella’s ingredients: sugar, palm oil, hazelnuts, cocoa, skim milk, reduced minerals whey (milk), lecithin as emulsifier (soy), vanillin: an artificial flavor.

Searching through the internet, I found several recipes similar to Nutella, commonly using hazelnuts and chocolate. I decided to combine some of the ingredients and create my own. This was partially determined by what I already had in my kitchen.

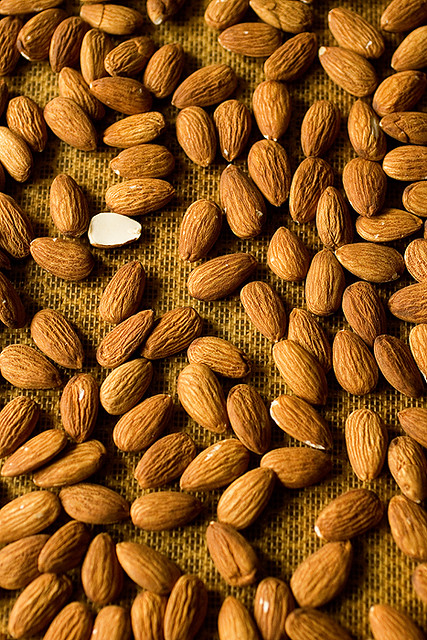
Measure about two cups of almonds or hazelnuts and put them in a single layer onto a cookie sheet.

101511AB-135


Roast the nuts in a 350 degree oven for about 10-15 minutes, stirring often so they don’t burn. Place them into your food processor.

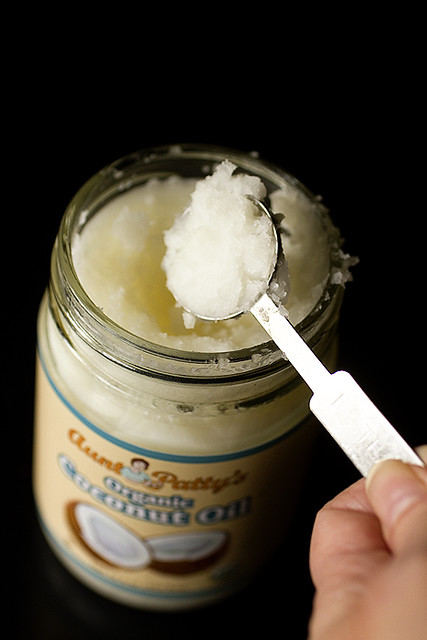
Add 1 teaspoon of coconut oil to the warm nuts.

101511AB-142


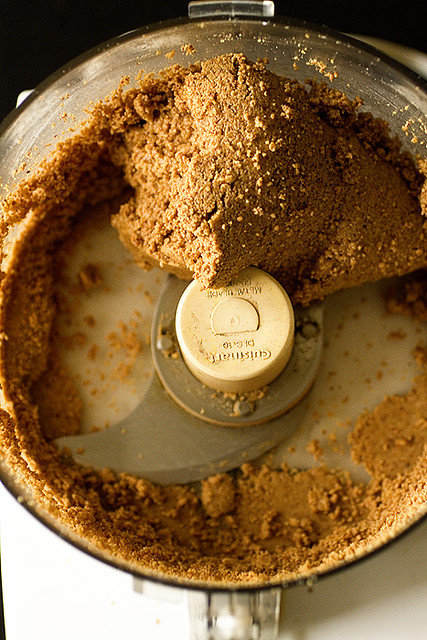
Grind, grind and grind some more. The mixture will take on the consistency of peanut butter. When it looks like this, keep grinding a bit longer.

101511AB-173


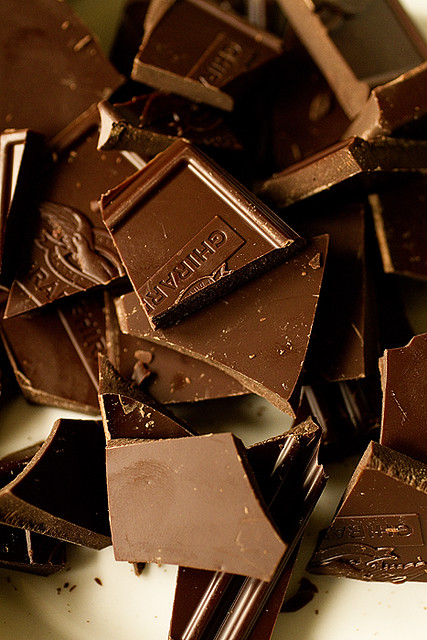
Break up a 4 oz. chocolate bar into a microwave safe bowl, and heat on high for 1 minute.

101511AB-148


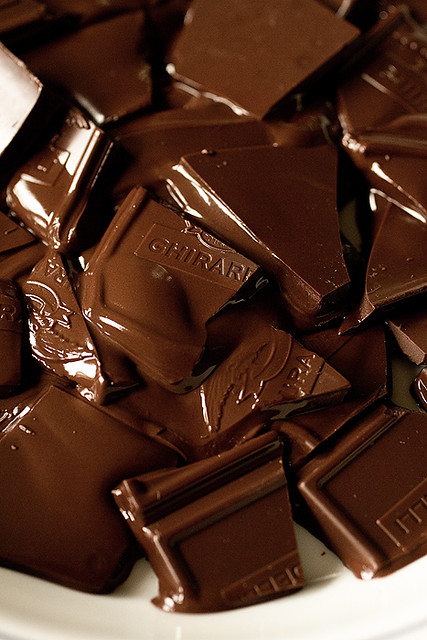
When you take it out of the microwave, it will look like this...

101511AB-149


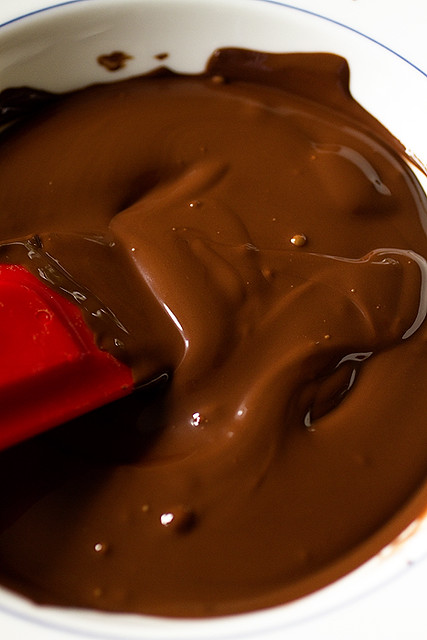
Give it a stir, and put it back in for another 30 seconds if necessary. Stir. If you don’t have any unmelted chunks... Voila! You have perfectly tempered chocolate.

101511AB-157


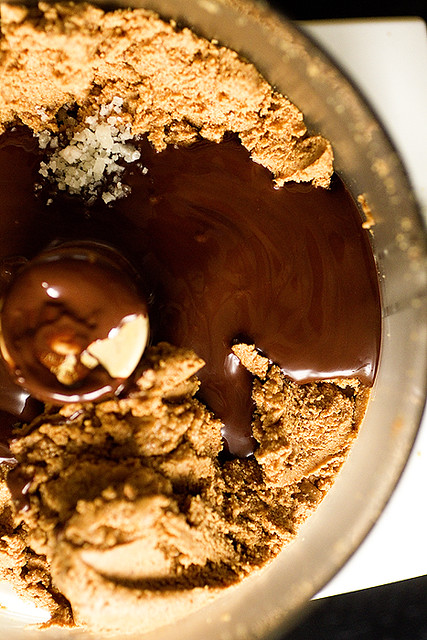
Add the melted chocolate, 1/4 teaspoon sea salt, and 1/2 teaspoon vanilla to the almond mixture and blend well.

101511AB-186


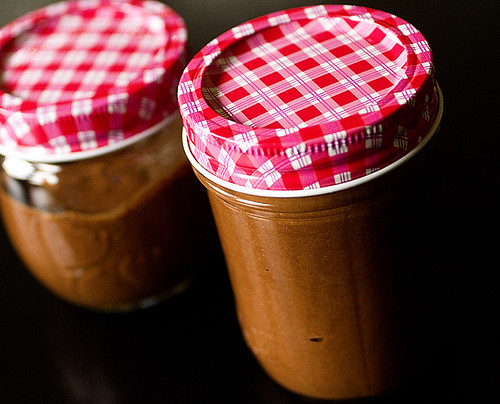
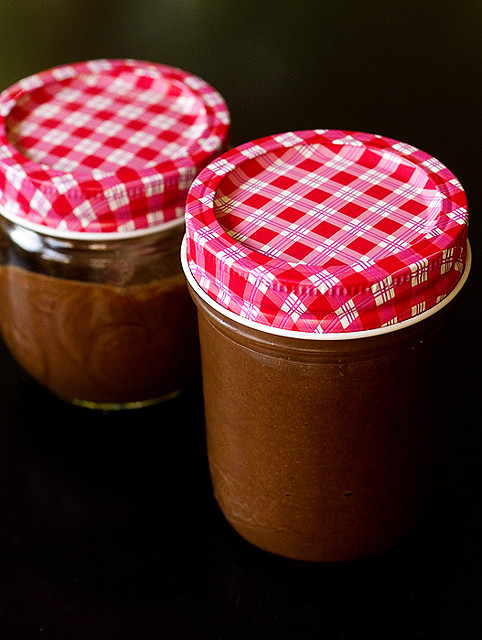
Pour it into jars and place in the refrigerator to firm it up.

101611AB-102


The butter will spread easier if you bring it to room temperature before serving.

101611AB-111


Dark Chocolate Almond Butter
PRINTABLE RECIPE

Ingredients

2 cups raw almonds or hazelnuts
4 ounces dark (or milk) chocolate
1 teaspoon coconut oil (this can be found near the olive oils at many grocery stores)
1/4-1/2 teaspoon course sea salt (fleur de sel)
1/2 teaspoon pure vanilla

Directions

Roast the raw nuts by placing them on a cookie sheet and baking them in a 350 degree oven for 10-15 minutes. Stir occasionally to keep them from burning.

Place the warm nuts and the coconut oil into a food processor and grind them until they’re as fine as possible. Then grind them some more. When you will see the texture change from crumbly to buttery (after about 5 minutes) you’re almost there.

Place the chocolate bar into a microwave safe dish and heat on high for 1 minute. It won’t look melted when you take it out, but stir it and watch the magic. Put it back in for another 30 seconds until it’s smooth. Add the melted chocolate, sea salt and vanilla to the nut mixture and blend until smooth. There will be small pieces of the nuts visible.

Pour into small glass jars. The consistency will be fairly thin at this point, but after a few hours in the refrigerator it will thicken. Bring it back to room temperature for perfect speadability.

Enjoy!
Monday, October 10, 2011

lunch in Hong Kong. dinner in Italy.

I had a birthday last week. What better time to enjoy some of the fabulous restaurants our city has to offer? What can you give a person who has it all? Wonderful meals prepared by someone else. My husband gave me all that and more.

Lunch.


Dim sum is hands down my favorite lunch of all time. Comfort food at its finest. Most of the dim sum in Portland is served in Chinatown. Restaurants here include Fong Chong and House of Louie, neither of which are the cleanest restaurants ever encountered. I have been reasonably happy with these for many years, however. That was until I discovered... Ocean City (or as we like to refer to it... Ocean Magic). Remember Ocean Magic Barbie? She wore a wet suit that, when warmed, as in warm water, disappeared. She came with a very small whale. My husband and I did a photo shoot for Mattel many years ago that involved ‘Ocean Magic Barbie’ and the real live ‘Keiko the Whale’ at the Newport aquarium. She was later sold as ‘Ocean Friends Barbie and Baby Keiko the Whale.’

Why was there never a pregnant Barbie? Because Ken came in a different box!

Alrighty then...

Ocean City is a bit of a distance from us, but definitely worth the drive. When you enter, the first thing you may notice is the fact that there are very few non-Asian customers in sight. In fact, we were exclusive. English is not the preferred language here. It helps if you know your dim sum to assure you can fill the table and your tummy with all your favorites.

When the carts stop at our table, I intercept with questions? Ha gau? Cheong fan? Shu mai? Hun shi gao? Hum bao?

Small, shiny metal containers are pulled from the depths of the cart. The steaming contents are revealed as they’re laid out in front of us like gifts for the queen.

Slurping and mmmmming are allowed, if not encouraged.

One of the most delicious items they offer is not in the carts. You must ask, in your best Chinese, for the barbecued pork. This delicacy is a must have! Displayed like prizes in the front of the restaurant, pork and duck hangs in glass cases resembling the animal it once was. The pork is a tenderloin sliced and served warm on a small platter with plum sauce on the side. Drool!

_____________________________________________________


Dinner.


Leave your American ideas and language at the front door. When you walk through the door at Piazza Italia, you are in Italy. We made a reservation for 9pm. A respectable time for a European meal, especially when you’re still recovering from a trip to Hong Kong earlier in the day.

If your first impressions of a good Italian restaurant are the bread, you’ll be in awe from the get go. One person made the rounds, making sure our bread basket and balsamic/olive oil well were full at all times. The freshly baked bread is cut into sample sized bites, which keeps you from realizing just how much of it you’re consuming. The wait staff is unhurried and relaxed and customers are greeted like long lost relatives stopping by for the holidays. Wine is poured with a heavy hand, laughter and loud jovial conversations abound. If you’re looking for a restaurant where you will feel welcome and appreciated, you’ve arrived. Tables are placed very close together, and by the end of your long meal you may even make a new friend, or, in our case, learn more about the couple next to you than you really cared to.

The menu is somewhat limited, but consists of homemade pastas that are out of this world. I ordered the Linguine Squarciarella (aka Gino’s favorite) a simple linguine made with eggs, prosciutto, onions and parmesan cheese. This was a large mound of pasta, which I managed to consume in its entirety. Squisito!


This week I will dream of noodles and gnocchi while consuming only
salads and smoothies... sigh.


Friday, October 7, 2011

chocolate and sea salt cookies

91611C-225


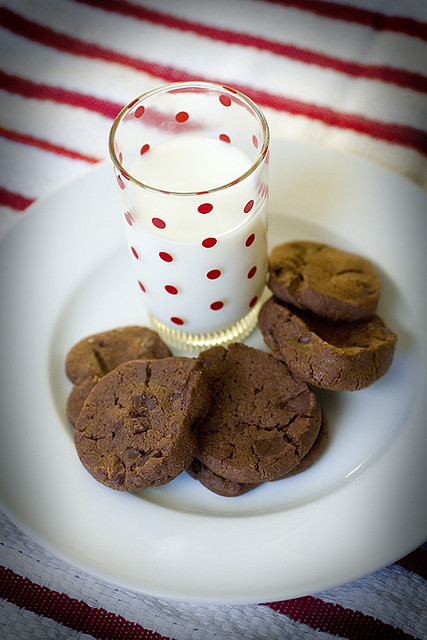
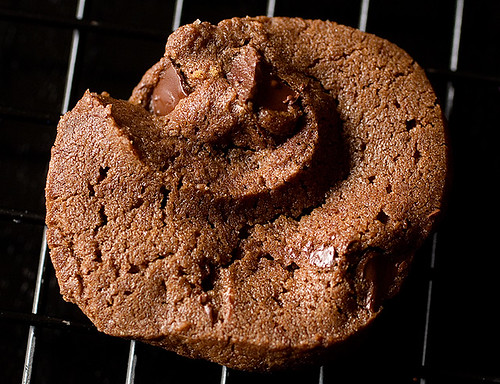
In last week’s giveaway, these were the most requested cookies. I guess I’m not the only one in love with bittersweet chocolate and salt. The intense flavors of dark chocolate and fleur de sel come together for a party in your mouth. If you have not yet tried this combo, don’t walk, run to the store and pick up the ingredients to make these now. I’m pretty sure that if every human being could eat just one of these every day, there would indeed be peace in the world!

The following recipe has been adapted from one published in The Oregonian and shared with me by my friend Theresa.


Chocolat Paix Mondiale et Cookies au sel de mer
World Peace Chocolate and Sea Salt Cookies
PRINTABLE RECIPE


Makes about 4 dozen 


Ingredients

1 1/4 cups all-purpose flour
1/3 cup unsweetened cocoa powder
1/2 teaspoon baking soda
1/2 cup plus 3 Tablespoons unsalted butter (at room temperature)
2/3 cup firmly packed brown sugar
1/4 cup granulated sugar
1/2 teaspoon fleur de sel or 1/4 teaspoon fine sea salt
1 teaspoon pure vanilla
5 ounces bittersweet chocolate, chopped into chips

Directions

Sift the flour, cocoa and baking soda together. Set aside.

In the bowl of a standing mixer, beat the butter on medium speed until smooth and pale yellow. Add the sugars, salt and vanilla and mix another 2 minutes.

Turn off the mixer. Pour in the sifted dry ingredients, drape a kitchen towel over the mixer to protect anything around it from flying flour. Mix at low speed about 5 times for a second or two each time. Then mix about 30 seconds more. Mix just until the flour disappears into the dough. Work the dough as little as possible. It may look a little crumbly... no worries. Toss in the chocolate pieces and mix just until incorporated.

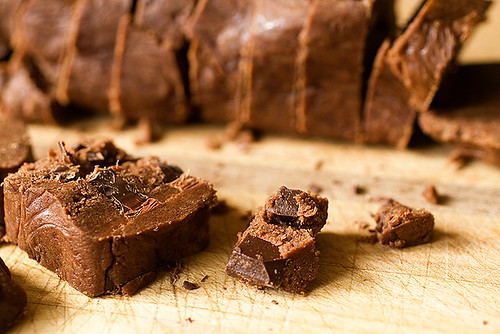
Turn the dough out onto a work surface and gather it together and divide it in half. Shape into logs that are 1 1/2 inches in diameter. Wrap the logs in plastic wrap and refrigerate for at least 3 hours. (The dough can be refrigerated for up to 3 days or frozen for up to 2 months.

Preheat the oven to 325°F. Line two baking sheets with parchment paper or silicone mats.

Using a sharp knife, slice the logs into rounds that are about 1/2 inch thick. (They may crack a bit as you’re cutting them. No worries. Just squeeze the chocolatey bits back onto the cookie). Arrange the rounds on the baking sheets, leaving about 1 inch between them.

Bake each batch, one sheet at a time, for 12 minutes. They won’t look done, they won’t be firm at this point. They’ll firm up and become sandy/crumbly as they cool. Transfer the baking sheet to a cooling rack.

Here are a couple key ingredients that make these amazingly delicious:

Fleur de Sel

Fleur de Sel


My Mother-in-law brought this back from Paris. You can see another creation I made with it here. Once you go French, you’ll never go back!

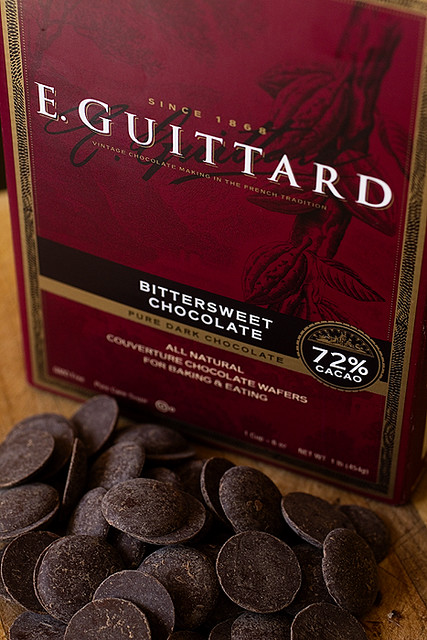
Guittard chocolate

92911BK-162


In the mid 1800’s, Etienne Guittard traveled to San Francisco searching for gold that he never found. He brought with him delicious chocolate from his uncle’s factory in France. Understandably, this chocolate made him very popular, which inspired Etienne to establish the Guittard Chocolate Company in San Francisco, in 1868. I’m so glad he did!

You can order boxes of Guittard chocolate from Amazon.com or if you have a Williams-Sonoma store in your area, they carry it as well.

91611C-161


91611C-147

Monday, October 3, 2011

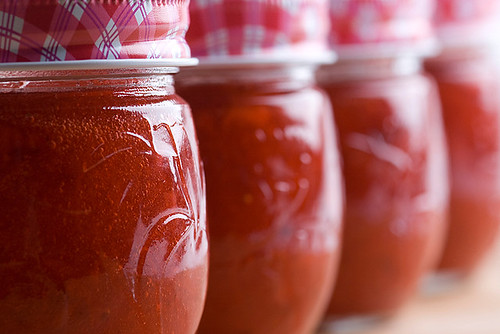
berry good freezer jam


_mg_1796-1


My Mom has always been a very organized housekeeper. Living with five kids and a husband, she followed a regimented schedule. Dinner went on the table at 5:30 sharp. My Dad walked in the door at 5:20. There were laundry days, vacuuming days, lawn watering days, floor scrubbing days... you get the idea. Some chores only came around a couple times a year.

Preserving day was the day my Mom made a giant mess in her kitchen. Oodles of brightly colored berries were hauled into the house, washed and placed in a big metal cone that was covered with small holes. A chinois? She griped a permanently stained wooden tool to churn the berries. Red juice flowed like a fountain, leaving behind only unwanted seeds. I wish I had this tool now. It could be great for making tomato sauce.

Even though the methods and tools may have simplified over the years, I don’t have the time or patience. With all the safety regulations around home canning, I fear poisoning someone.

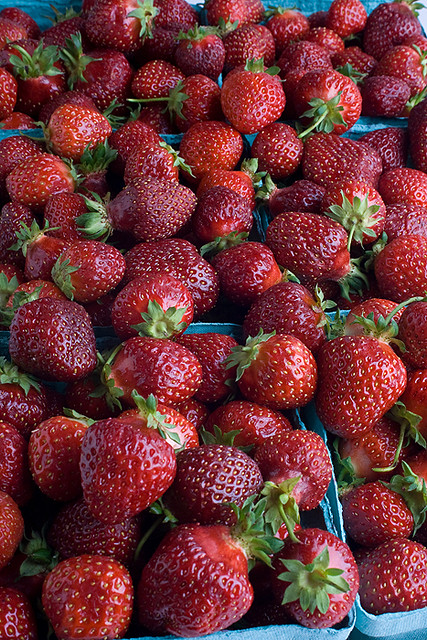
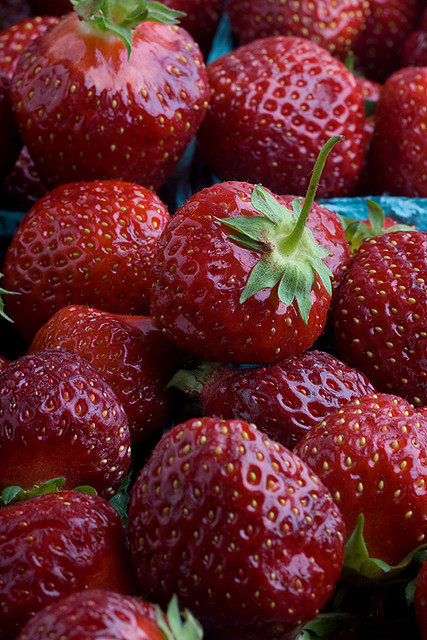
Here in Oregon, we have some of the sweetest strawberries in the world. If you picked some of these beauties back in June, and stowed them away in your freezer, the cold rainy days of fall are a perfect time to produce some freezer jam.

If you don’t have fresh frozen berries, it’s not too late to visit a local farm. Many have a variety of frozen berries available for purchase during their fall harvest festivities.


_mg_1809


_mg_1882

Strawberry Freezer Jam
Makes 6-7 eight-ounce jars
PRINTABLE RECIPE

Ingredients

1 package Pamona’s Universal Pectin
4 cups crushed fresh strawberries
2 cups sugar or 1 cup honey
1/4 cup lemon juice (optional)
3/4 cup water
3 teaspoons pectin powder (this will be in the Pamona’s pectin box)
4-10 teaspoons of calcium water (the calcium powder is also in the Pamona’s box.)

Directions

Make the calcium water. Put 1/2 teaspoon of calcium powder and 1/2 cup of water in a small container with a lid. Shake well before using. This can be stored in the refrigerator between uses and will last a couple months.

Remove stems from berries and rinse with cold water. Crush berries with a potato masher (or puree in a food processor if you like fewer solids).

Add the sweetener of your choice to the crushed berries.

Boil 3/4 cup of water and pour it into a food processor or blender. Add 3 teaspoons of the pectin powder. Mix for 1-2 minutes or until all the powder has dissolved. Add this hot mixture to the fruit and mix well.

Add 4 teaspoons of the premixed calcium water into the fruit mixture. Continue to add more calcium water a teaspoon at a time, just until it begins to jell. Mine jelled with 5 teaspoons.

Pour the jam into 8-ounce jars or containers. Make sure to leave 1/2" at the top for expansion that occurs in the freezing process. Cover the jars and place them in the freezer.

When removed from the freezer, partially used jam can be stored in the refrigerator for 3-4 weeks.

NOTE: You can substitute sugar/honey with the sweetener of your choice. Some options are: a concentrated fruit juice; stevia; or splenda. Pamona’s Pectin contains only pure citrus pectin and it works well with whatever sweetener you choose. Experiment with various amounts of sweeteners to suit your taste.

Pat yourself on the back for not buying jam with chemicals added. Then go get yourself a freshly baked loaf of rustic bread, coat it with unsalted butter and spoon on a generous helping of scrumptilicious homemade jam.

Mmmmmm... lip-smackin’, finger-lickin’ good!